

Overview:
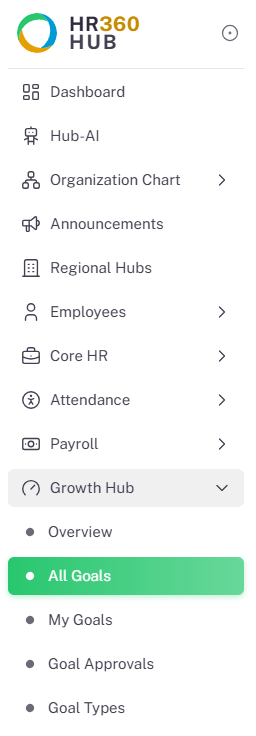
This guide explains how to use the Goal Assignment Workflow in the HR360Hub portal. The workflow allows Super Admins and HR Managers to create goals, submit them for approval, and — once approved — assign those goals to individual employees or entire departments. The process is managed through the Growth Hub module in the left-hand navigation sidebar.
📜 Note: Only users with Super Admin or authorized HR Manager roles can access the Growth Hub module and perform goal creation, approval, and assignment actions. If you cannot see the Growth Hub menu, contact your system administrator to verify your role and permissions.
Section 1: Navigating to the Growth Hub
All goal-related features are accessed through the Growth Hub module. After logging in to the HR360Hub portal with your administrator credentials, follow these steps:
- On the left-hand sidebar, locate the
- Click on
- Select
The All Goals page will open, displaying a list of all goals in the system along with their statuses and creator information.
Section 2: All Goals Page
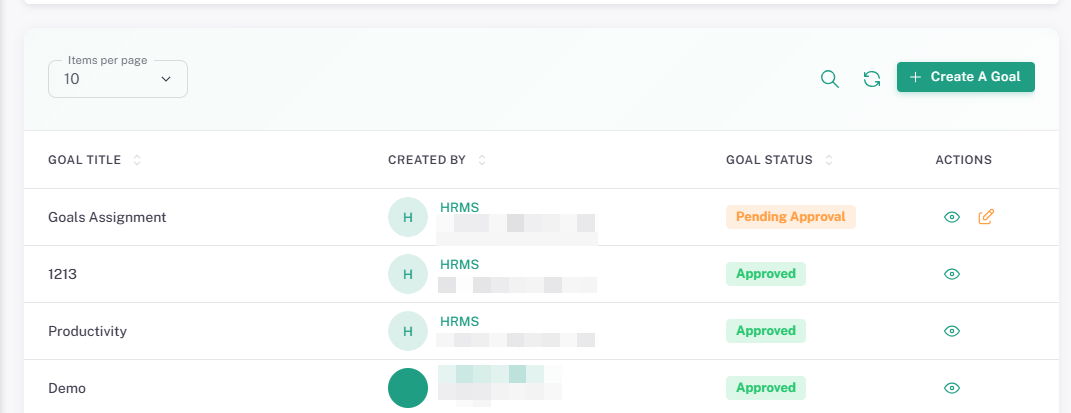
The All Goals page provides a central view of every goal in the organisation. It displays the goal title, who created it, the current approval status, and available actions.

Column | Description |
Goal Title | The name of the goal as entered during creation. |
Created By | The user who created the goal, shown with name and email. |
Goal Status | Current approval status: Pending Approval or Approved. |
Actions | Icons to view (👁) or edit (✏️) the goal. Edit is available for goals in Pending Approval status. |
💡 Tip: Use the search icon (top-right of the goal list) to quickly locate a goal by name. The Items per page dropdown lets you control how many goals are displayed at once.
Section 3: Creating a New Goal
Goals are created using a three-step wizard. Click the + Create A Goal button (top-right of the All Goals page) to begin. The wizard guides you through Goal Details, Attachments, and a final Review & Create step.
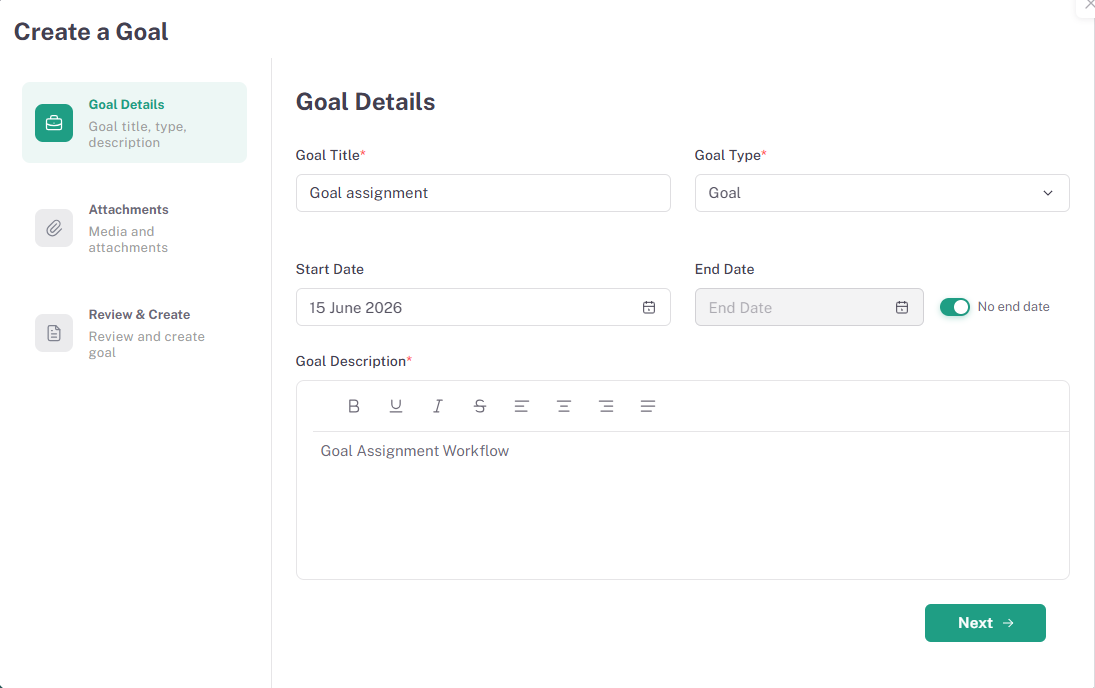
3.1. Goal Details:
Enter the core information about the goal in this step.
Field | Required | Description |
Goal Title | Yes | A clear, descriptive name for the goal. |
Goal Type | Yes | Select the goal category from the dropdown (e.g. test, performance, development). |
Start Date | No | The date from which the goal is active. Defaults to the current date. |
End Date | No | The target completion date. Toggle No end date if the goal has no fixed deadline. |
Goal Description | Yes | A rich-text description of the goal. Use the formatting toolbar to apply bold, italic, alignment, and other styles. |
Click Next to proceed to the Attachments step.
3.2. Attachments:
Upload any supporting files that provide context or evidence for the goal. This step is optional.
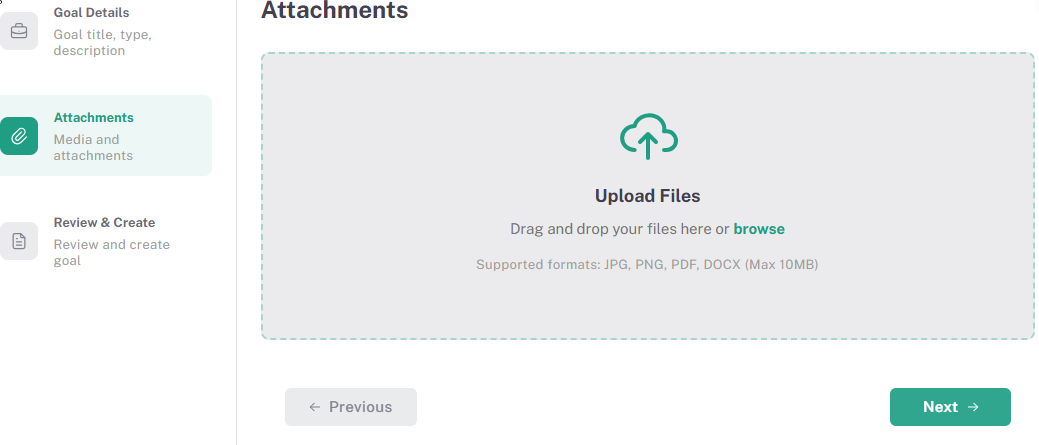
- Drag and drop files onto the upload area or click browse to select files from your device.
- Supported formats: JPG, PNG, PDF, DOCX (maximum 10 MB per file).
- If no attachments are required, click Next to skip this step.
3.3. Review & Create:
The final step displays a summary of all the details entered. Review the Goal Title, Goal Type, Start Date, End Date, and Goal Description before submitting.
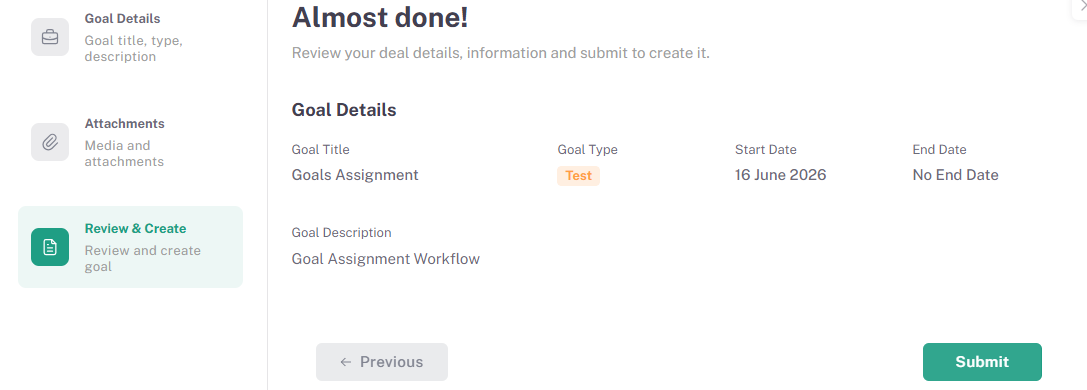
- If any detail is incorrect, click Previous to return to an earlier step and make corrections.
- When satisfied with all details, click Submit to create the goal.
📜 Note: After submission, the newly created goal will appear in the All Goals list with a status of Pending Approval. It must be approved before it can be assigned to employees.
3.4. Newly Created Goal in the List
Once submitted, the goal appears at the top of the All Goals list, showing Pending Approval status with a view and edit action available.
Section 4: Approving a Goal
Goals in Pending Approval status must be reviewed and approved before they can be assigned. The approval process is managed through the Goal Approvals page.
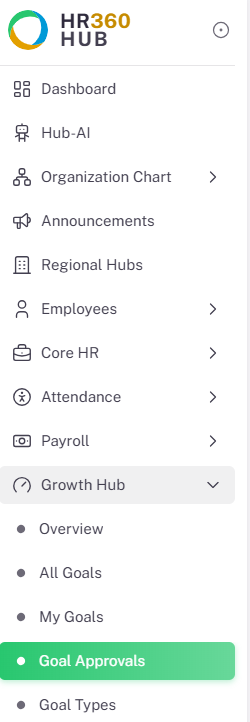
4.1. Navigating to Goal Approvals:
- In the left-hand sidebar, expand the Growth Hub
- Select Goal Approvals
4.2. Goal Approvals List:
The Goal Approvals page lists all goals submitted for approval, showing the goal owner, due date, and current status.
Column | Description |
Goal Title | Name of the goal submitted for approval. |
Goal Owner | The user who owns the goal, shown with name and email. |
Due Date | The end date of the goal, if set. |
Status | Pending Approval or Approved. |
Action | The view icon opens the goal detail and approval panel. |
4.3. Reviewing a Goal:
Click the view icon (👁) next to a Pending Approval goal to open its detail view. The detail view shows the Goal Details panel on the left and the Pipeline Overview on the right.
When first opened, the goal will display an In Review status button in the top-right corner, indicating the approver has opened and is examining the goal.
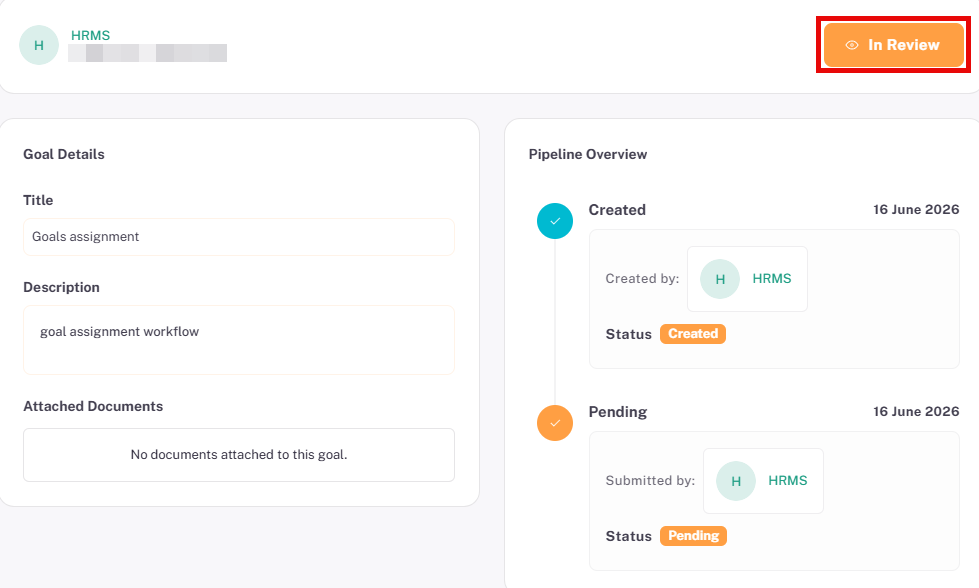
The Pipeline Overview tracks every stage of the goal lifecycle with date and user information:
Pipeline Stage | Description |
Created | Records when the goal was first created and by whom. |
Pending | Records when the goal was submitted for approval. |
In Review | Records when an approver opened the goal for review. |
Approved / Rejected | Records the final decision with the date and approver's name. |
4.4. Approving or Rejecting a Goal:
After reviewing the goal details, the approver will see Approve and Reject buttons in the top-right corner of the goal detail view.
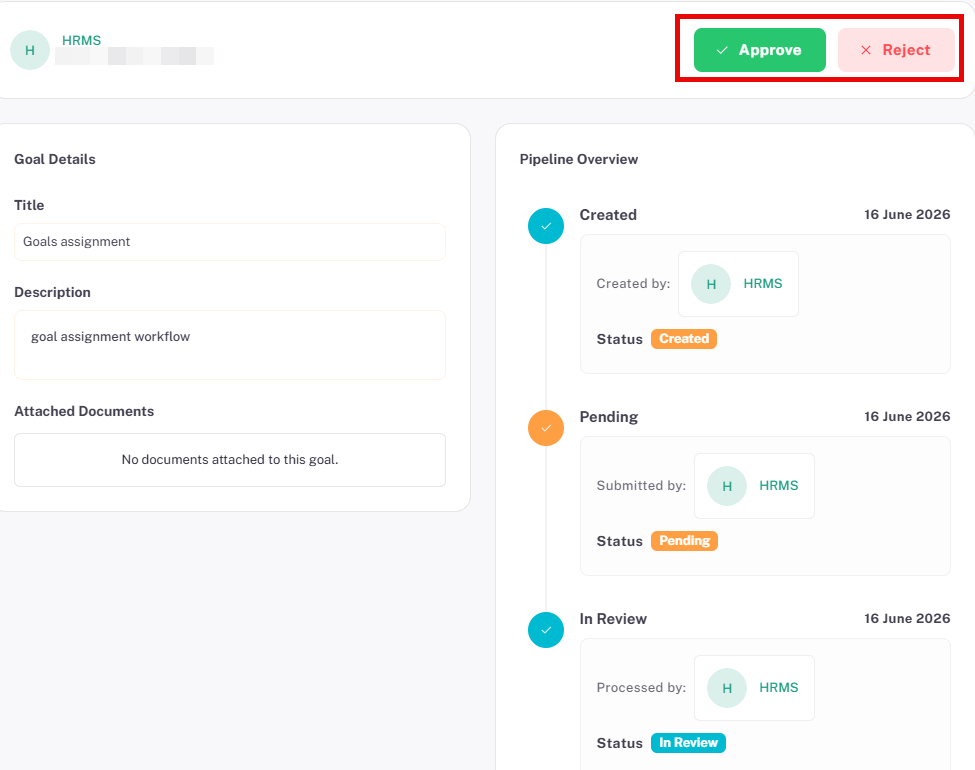
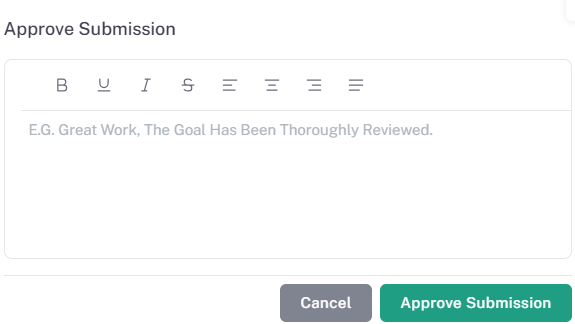
To approve a goal:
- Click the Approve button (green, top-right).
- An Approve Submission dialog will appear with an optional comments field.
- Enter any feedback comments (optional) and click Approve Submission.
⚠️ Important: Clicking Reject will reject the goal and return it to the creator. A rejection reason should be entered in the comments field so the creator can make the necessary revisions and resubmit.
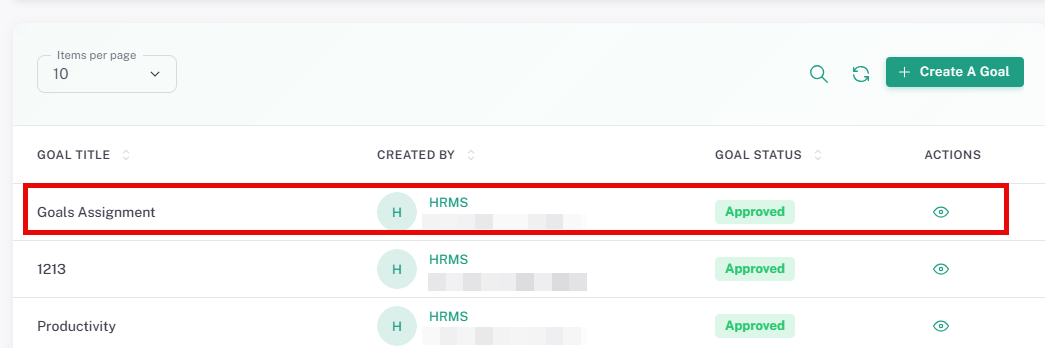
4.5. Approved Goal — Confirmation
Once approved, the goal status updates to Approved in both the All Goals list and the Goal Approvals list. The goal is now ready for assignment.
Section 5: Assigning a Goal
Once a goal has been approved, it can be assigned to one or more employees or entire departments. Assignments are managed from the goal's Assignees tab.
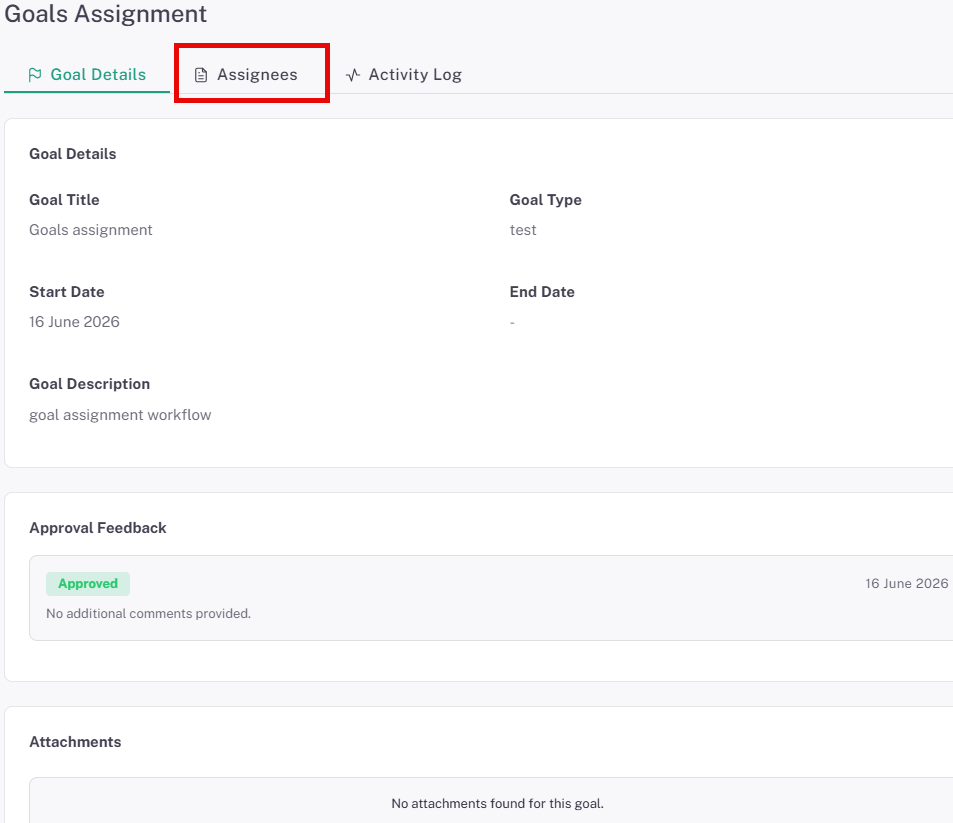
5.1. Accessing the Assignees Tab:
- On the All Goals page, click the view icon next to an Approved goal.
- The goal's detail page opens with three tabs: Goal Details, Assignees, and Activity Log.
- Click the Assignees tab.
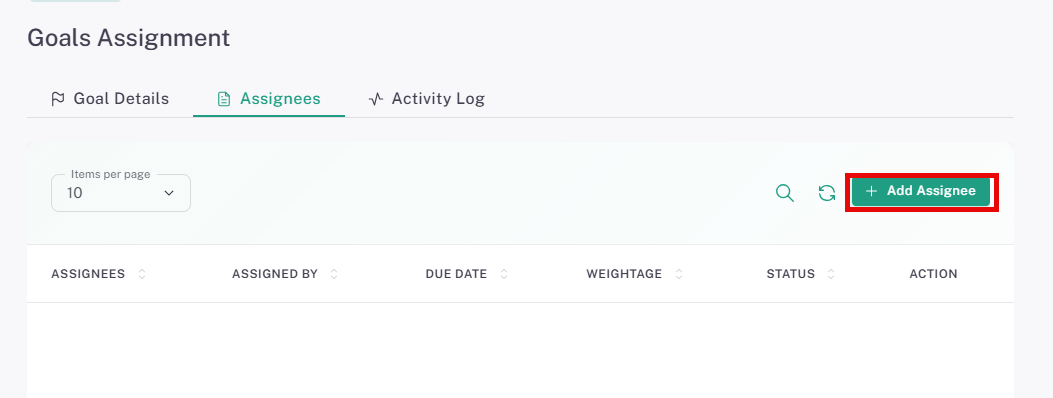
5.2. Adding an Assignee:
On the Assignees tab, click the + Add Assignee button (top-right) to open the Add Assignee page.
5.3. Assignment Type: Individual
Use Individual assignment to assign the goal to a specific employee.
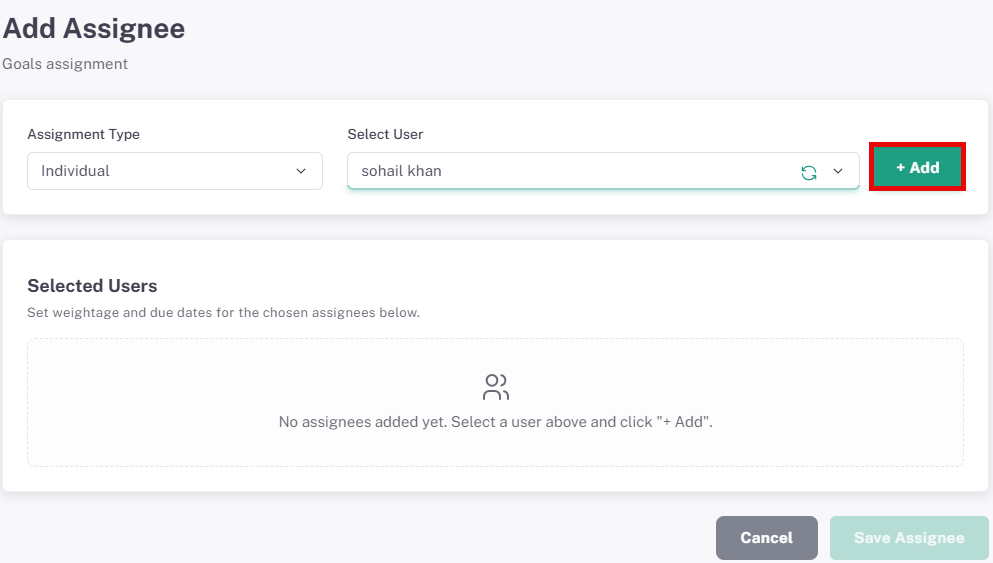
- Set Assignment Type to Individual.
- Use the Select User dropdown to search for and select the employee.
- Click + Add to move the employee to the Selected Users panel.
- In the Selected Users panel, enter the Weightage (%) and an optional Due Date for each assignee.
- Click Save Assignee to confirm.
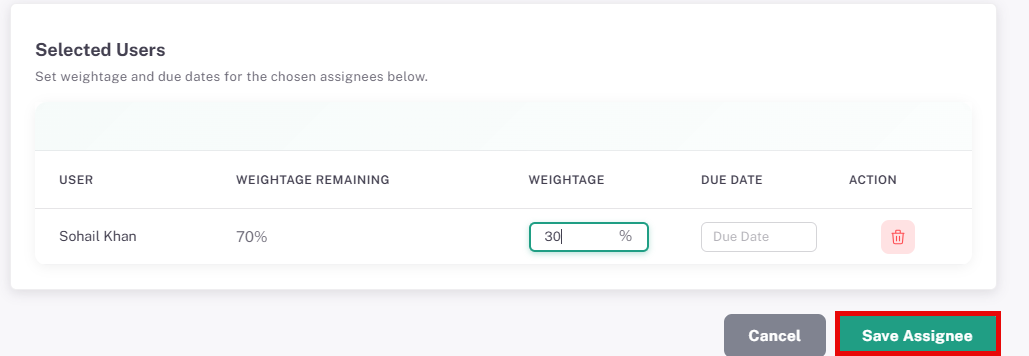
📜 Note: The Weightage Remaining column shows how much of the total 100% goal weightage has not yet been allocated across all assignees. Ensure the total weightage for all assignees does not exceed 100%.
5.4. Assignment Type: Department
Use Department assignment to assign the goal to all employees within a specific department.
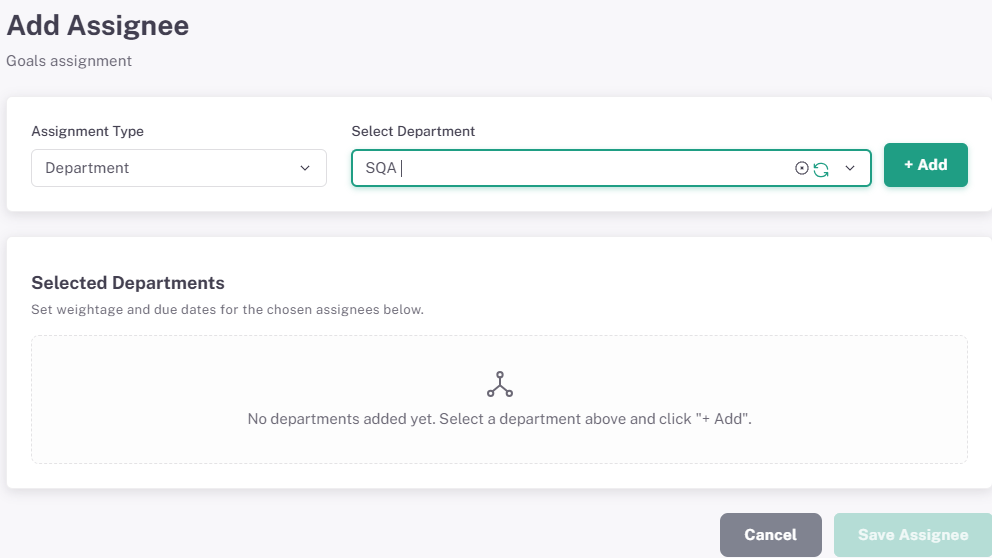
- Set Assignment Type to Department.
- Use the Select Department dropdown to search for and select the department.
- Click + Add to move the department to the Selected Departments panel.
- Set the Weightage (%) and optional Due Date for the department.
- Click Save Assignee to confirm.
💡 Tip: Department assignment is ideal for organisation-wide objectives. All members currently in the selected department will receive the goal automatically.
Summary:
The following table summarises the complete Goal Assignment Workflow, from creation through to assignment.
Step | Action | Location | Result |
1 | Navigate to All Goals | Growth Hub → All Goals | View the full goal list. |
2 | Create a new goal | All Goals → + Create A Goal | Goal created with Pending Approval status. |
3 | Review pending goal | Growth Hub → Goal Approvals | Goal opens in In Review state. |
4 | Approve the goal | Goal detail → Approve button | Goal status changes to Approved. |
5 | Open the approved goal | All Goals → view icon | Goal detail page with Assignees tab available. |
6 | Add assignees | Goal detail → Assignees → + Add Assignee | Goal assigned to individuals or departments with weightage set. |